Don’t overspray—it can degrade your mold over time.
Never use it to clean your silicone molds.
Spray only while the resin is still fluid to avoid clouding.
Bonus Tip: For Trapped Bubbles in Details
Use a toothpick or skewer to gently poke out bubbles in mold edges, text, or corners—especially useful in jewelry or alphabet molds.
Mold Safety 101: Avoid These Common Mistakes
Silicone molds are durable—but not invincible.
Don’t:
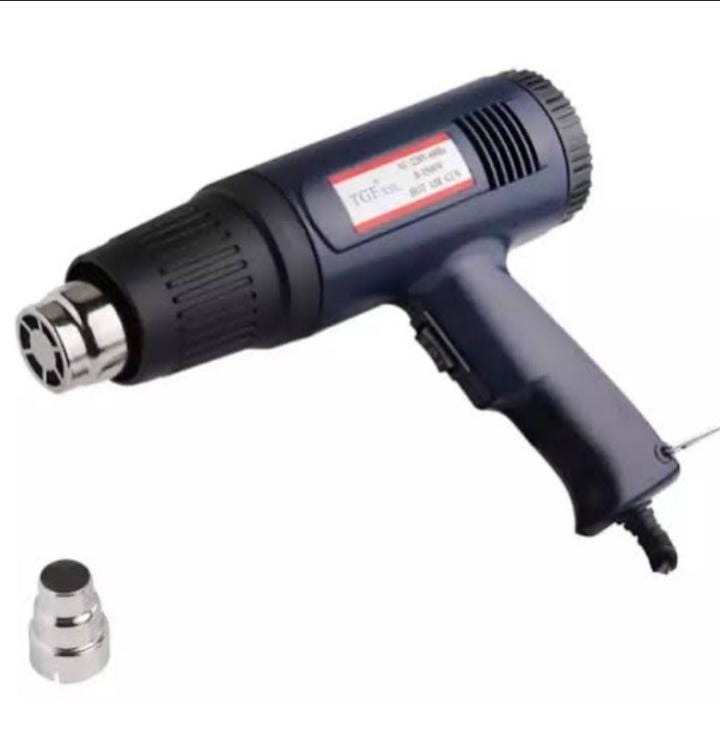
Overheat with a flame or hot air.
Pour resin that’s already curing (it can stick or burn).
Store molds in direct sunlight or near heat sources.
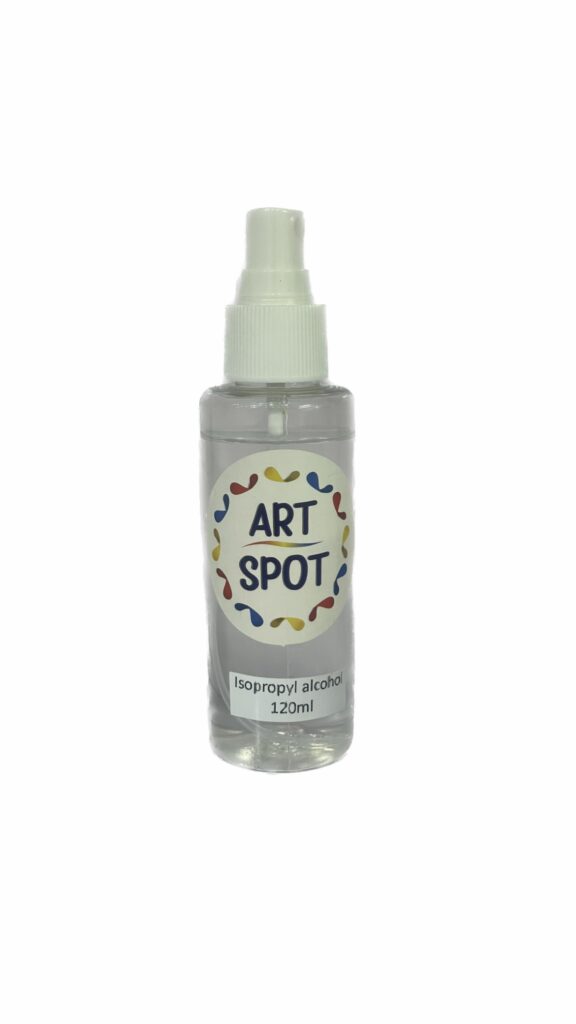
Use isopropyl alcohol to clean them.
Invest in good-quality molds—they last longer and handle heat better.
Mold Protection Essentials: What You’ll Need
Keep these supplies handy to prolong mold life:
Mold Release Spray – Reduces sticking and surface wear
Silicone Conditioner – Keeps molds flexible and moisturized
Isopropyl Alcohol (90%+) – Only for surface bubble removal
Storage Containers or Zip Bags – Keep dust & UV away
Non-Scratch Spatulas/Brushes – For gentle cleaning
Heat-Proof Surface – To protect your table while using heat tools
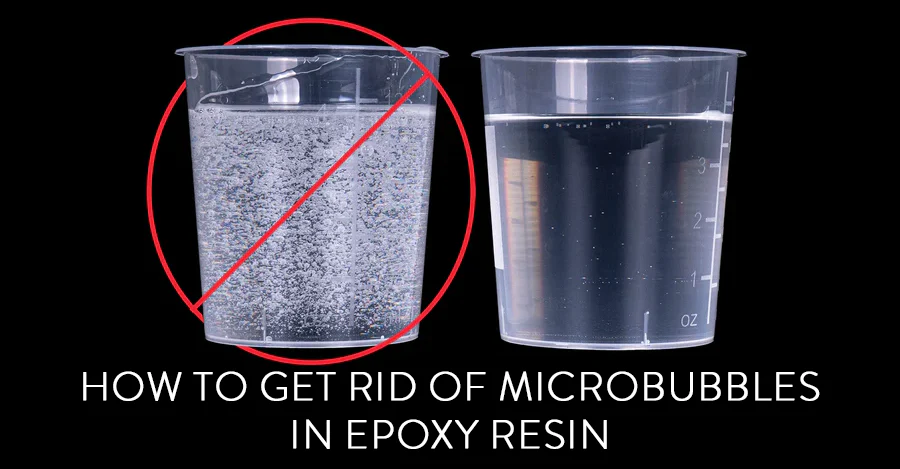
Wrap-Up: Crystal Clear Resin Without Sacrificing Molds
You don’t need to choose between perfect resin and long-lasting molds—you can have both! With these 6 bubble-busting techniques and mold-care tips, you’ll be well on your way to smoother pours and less waste.
⚠ Safety Notice: Candle making involves open heat sources, hot wax (160–200°F / 71–93°C), and flammable materials. This guide is educational. Always seek professional instruction
Resin art is a rewarding creative outlet, but beginners often hit a few snags when getting started. Whether you’re pouring coasters, casting in molds, or
Achieve breathtaking depth in your resin art with strategic layering and deep pour techniques. Whether you’re embedding florals, creating aquatic scenes, or building sculptural features,